Video: Working with Timers
In Practice Manager you can use timers to keep track of activities, regardless of whether these are billable (chargeable to a client) or non-billable (eg breaks). Timers can be used to track the elapsed time of a job, interruption time during a job, or other activities. Timesheet entries can be created from the timers, making it easier to account for your time and have a more accurate fee for your clients.
The timers available in the Today's Timers section are only listed for the day they are created. If a timer is left running, it will automatically stop at 11:59 PM Eastern Time and be saved on the My Timesheet page.
You can also refer to the timers Quick Guide or User Guide for help.
Click here to learn how to enable the timers setting.
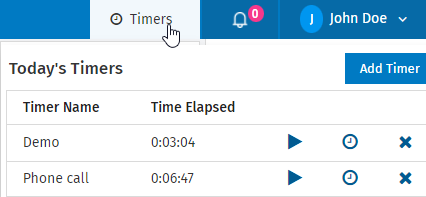
- Click the Timer button
 in the top menu next to your name.
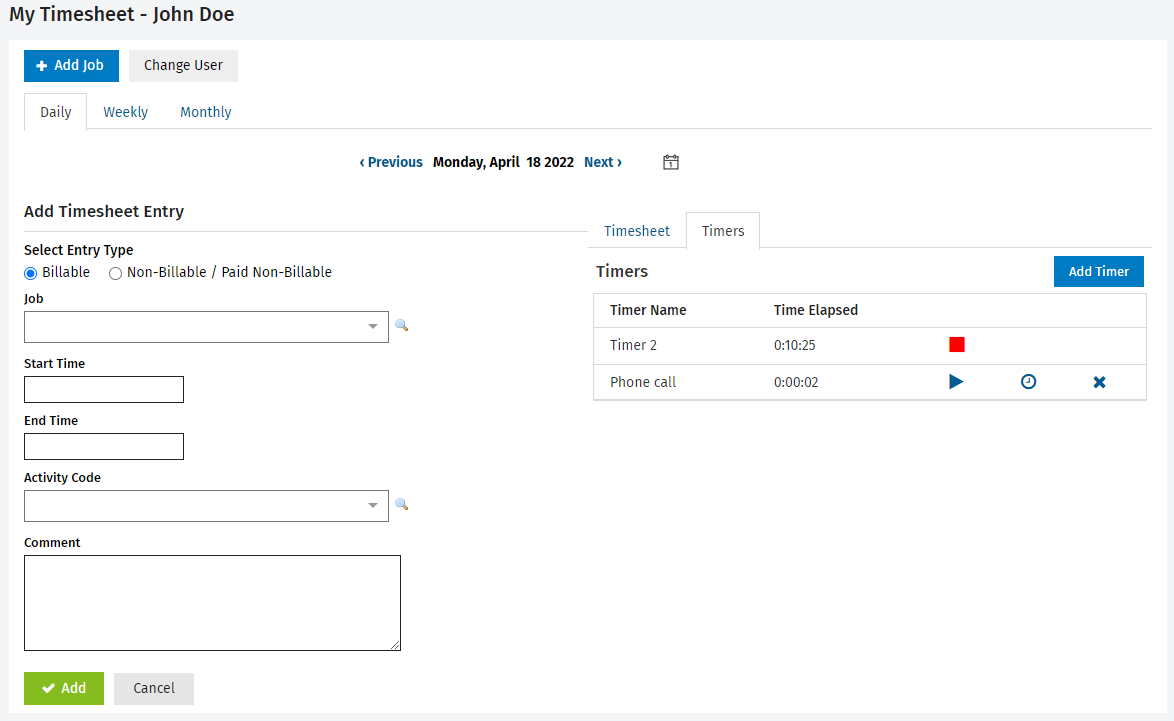
 - Click Add Timer. Once a timer is added it can be viewed or edited from the top menu or the Timers tab located on the My Timesheet page.
By default, the timer is named with an incremental default name "Timer #" for each user. You can edit the timer to change the default name.
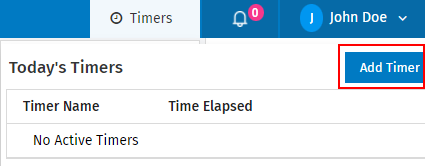
You can add multiple timers in CCH iFirm giving you the ability to track time on multiple tasks throughout the day. However, only one timer will run at a time and previously added timers will be paused.
- Click the Timer button
 located on the top menu.
 - Click Add Timer.
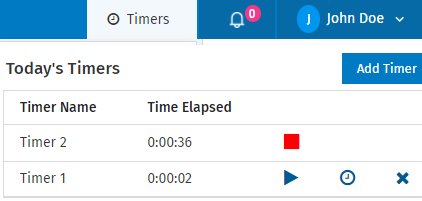
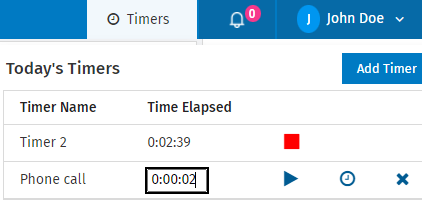
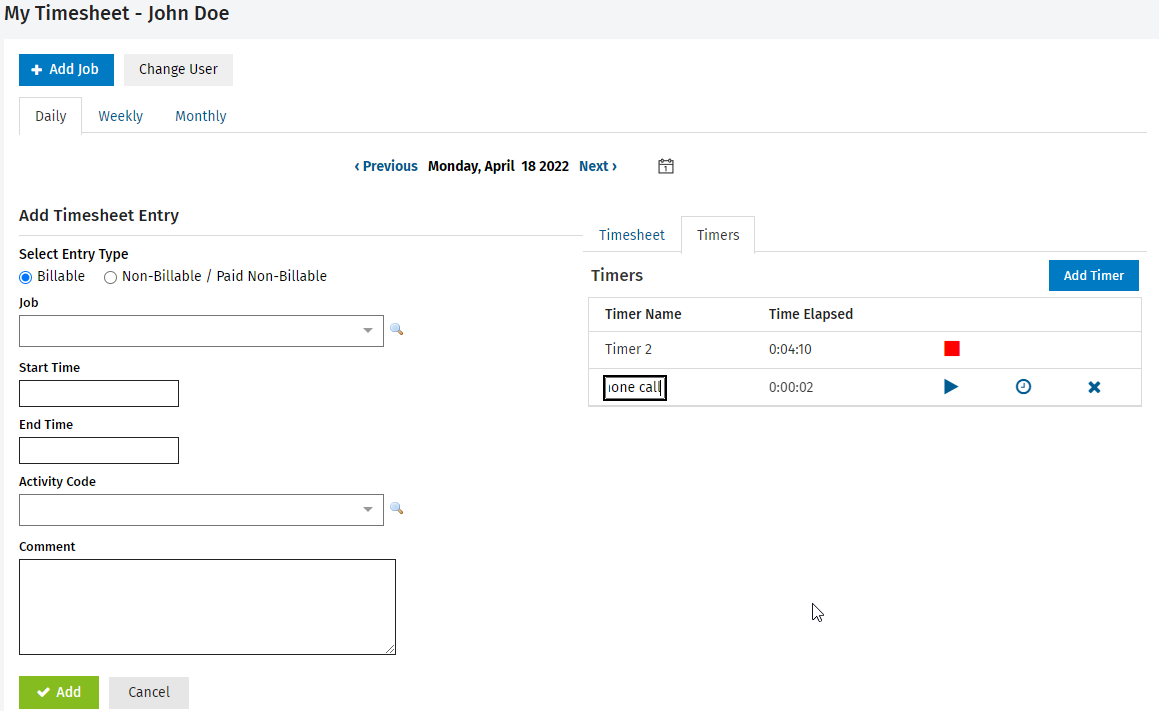
After starting a timer the name and time elapsed can be edited. The name can be changed to reflect what was actually done in that time, for example, phone call. If you forget to stop a timer and want to adjust the time elapsed, you can manually enter the desired amount of time when the timer is stopped. To make the changes, simply click in the field and make your changes.
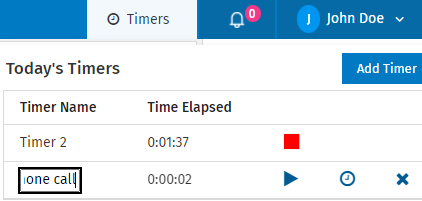
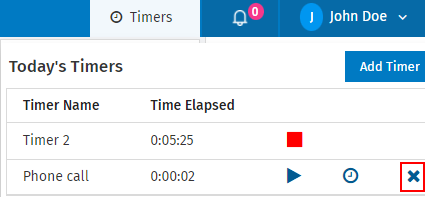
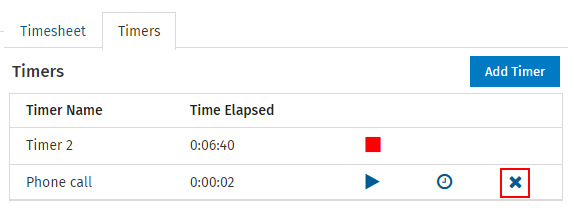
If a timer is created in error or not needed, you can click the Delete button  on the row of the timer you want to delete.
A timer linked to a timesheet entry cannot be deleted before the timesheet entry is deleted.
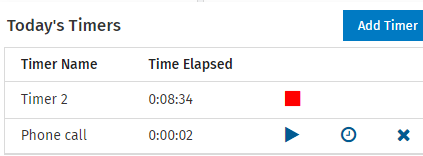
Timers can be paused and re-started as often as needed throughout the day. To pause a timer, click the Stop button  . When the timer is paused, the Run button
  allows you to re-start the timer or the Clock button
  allows you to create a timesheet entry.
Timesheets - View, Add and Edit My Timesheet (view, add, and edit your own timesheet entries) OR Timesheets - View, Add and Edit All Timesheets (view, add and edit timesheet entries for all staff members)
When a timer is stopped, you can create a timesheet entry for that activity. Once a timesheet entry is created, the timer can no longer be edited or deleted, unless you delete the timesheet entry.
- Click the Timer button
 located on the top menu, or access the Timers tab on the My Timesheet page.
Previously created timers can be viewed by navigating to the appropriate date by using the arrows or calendar at the top of the My Timesheet page.
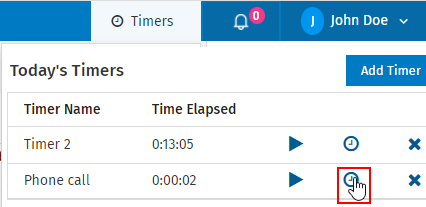
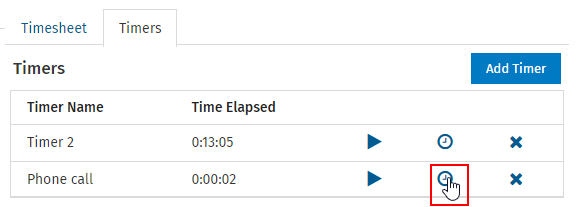
- Click the Clock button
 .
.
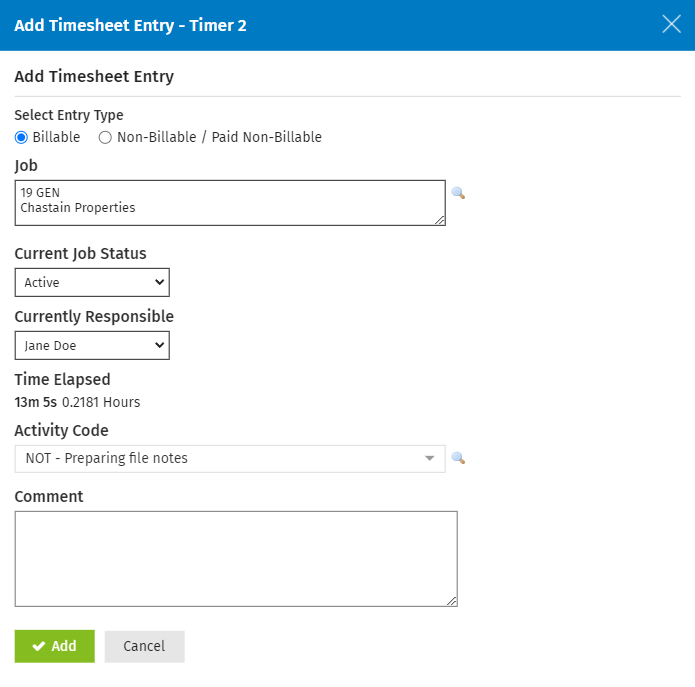
- Select the entry type to specify the type of entry you are making (Billable or Non-billable/Paid Non-billable).
- If entering billable time, type the first few letters of the client name in the Job field, then select the required job from the drop-down list OR click the Search button
 to locate and select the required job. Then, change the job status and the person currently responsible for the job, if applicable.
 - Specify the activity worked on for the job using EITHER of these methods:
- Enter the first few letters of the activity code in the field provided, then select the required code from the drop-down list.
- Click the Search button
 beside the Activity Code field to locate and select the required code.
 - Enter a note about the work completed in the Comment field, if required.
- Click Add - your entry displays on the right of the My Timesheet page (Timesheet tab), including the dollar values and chargeout rates. Once you've added an entry you can click the Job ID number to return to the Job Details screen or the client name to open the client profile.
.png)
If the Timesheet Entry Method for a user is units, CCH iFirm will convert the elapsed time to units.
See Also:
Edit general timesheet settings